Adding HTML content to a Sidebar Text Widget in WordPress can enhance your site visually and functionally. However, in order to do this you must first know HTML, which most us of while familiar, aren’t proficient with it.
This is a trick I learned early and use all the time for formatting text, adding images, or other simple bits of code to a sidebar. At first, this process may seem a bit cumbersome, but after you get used to it you’ll prefer it to relearning or having to type HTML code.
The basic idea is to build the content in the native WordPress page editor, copy it, and then paste it into a Text Widget located in a Sidebar.
Step 1: Create the Content
Add a new page by clicking on Add New from the Pages menu on the left. Create the desired content the same way you would for a normal Page or Post.
Note: We won’t be saving this page so don’t worry about it showing up anywhere on your site.
Step 2: Copy the HTML Code
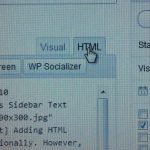
Switch to HTML view by clicking on the HTML Tab located on the upper right corner of the editor, and copy the code.
Remember: Make sure to delete this page so it doesn’t show up in your site.
Step 3: Paste code into a Sidebar Text Widget
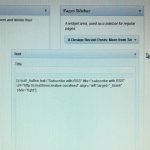
Click on Widgets from the Appearance menu item on the left and from the target Sidebar Area either, open the Text Widget or add a new one to the side bar. Paste the code into the Text Widget content area and click save.
That’s all there is to it.
Additional Uses
There are other, more advanced uses for this technique. For example, I’ve used it to Add a FaceBook Fanbox to this site as well as a Google AdSense placeholder. Both of which can be seen in my blog’s sidebar.
Are you using HTML in a Text Widget on your site? If so, for what? Please share your answers in the comment area below, especially if you’re using this technique…I’d love to see what you come up with.


Leave a Reply